


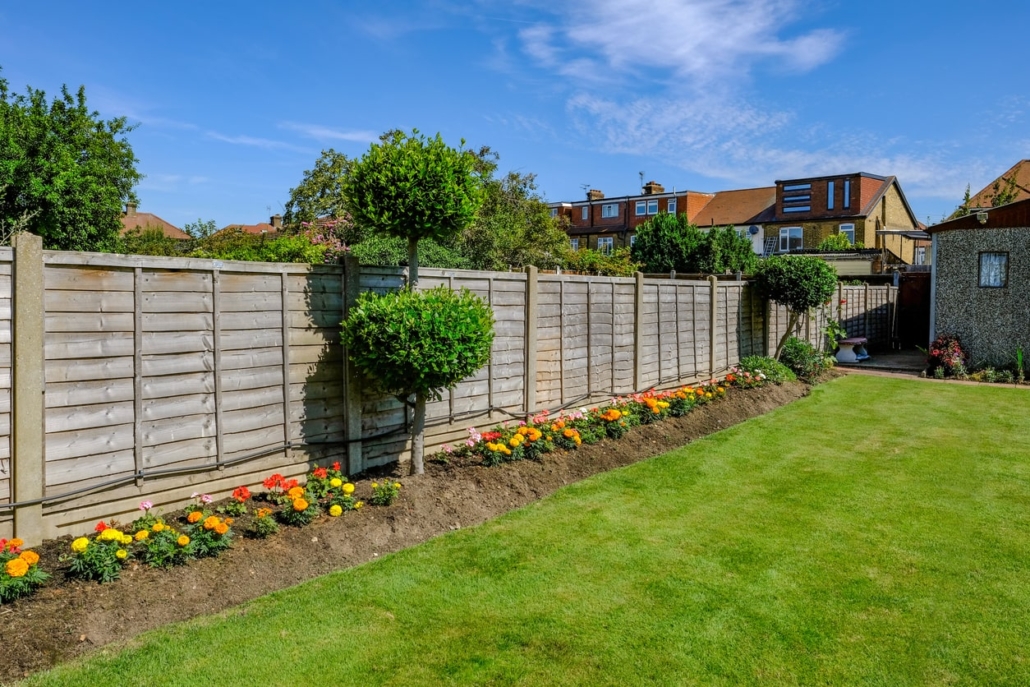
How to Replace Garden Fences: A Step-by-Step Guide
A sturdy, good-looking fence doesn’t just mark your boundary; it adds privacy, security, and style to your garden. Over time, though, fences can become weathered, rotten, or damaged.
Replacing them is easier than you might think, and with the right materials and a little patience, you can transform your outdoor space in a weekend.
Here’s how to replace your garden fence safely and efficiently.
1. Assess Your Existing Fence
Before starting, walk along your fence line and note:
- Any broken or leaning panels
- Rotten posts or rails
- Damage from wind or moisture
If only one or two panels are damaged, you might be able to replace just those. However, if the posts are loose or rotted, it’s usually best to replace the entire run for a longer-lasting result.
2. Check Boundaries and Permissions
If your fence borders a neighbour’s property, it’s a good idea to confirm boundaries and ownership before replacing it. In some cases, you might need planning permission for fences over 2 metres tall, especially if your garden backs onto a road or public space.
3. Remove the Old Fence
- Start by detaching panels from the posts using a crowbar or screwdriver.
- Dig around each post base and remove the old concrete footing if necessary.
- Clear away debris and level the ground before installing new posts.
Tip: If your old fence has reusable timber, you can upcycle it or pass it on for reclamation rather than sending it to landfill.
4. Install New Fence Posts
Strong, properly installed posts are key to a long-lasting fence.
- Use concrete or post supports (spikes or shoes) for stability.
- Space posts evenly — usually around 6ft (1.8m) apart.
- Ensure posts are perfectly vertical using a spirit level before fixing in place.
Allow concrete to set for at least 24 hours before attaching panels.
5. Attach the Fence Panels
Once your posts are firm:
- Lift the first panel into position.
- Secure it using galvanised nails or screws.
- Check that it’s level before moving on to the next panel.
For a seamless finish, make sure the top of each panel lines up neatly across the entire run.
6. Finishing Touches
After the panels are up:
- Apply a wood preservative or fence paint to protect against rot and UV damage.
- Add gravel boards at the base to keep panels off the damp ground.
- Consider decorative post caps or trellises for an extra touch of charm.
Give Your Garden Character with Reclaimed Materials
For a truly distinctive, eco-friendly garden, consider using reclaimed fence panels, timber posts, or gates. They add instant character and are far more sustainable than new materials.
At Gardiners Reclaim, you’ll find an extensive range of reclaimed wood, fencing, and garden salvage, ideal for traditional gardens, rustic landscapes, or eco-conscious DIY enthusiasts.
👉 Explore the collection at Gardiners Reclaim and give your garden a timeless finish with reclaimed materials.


